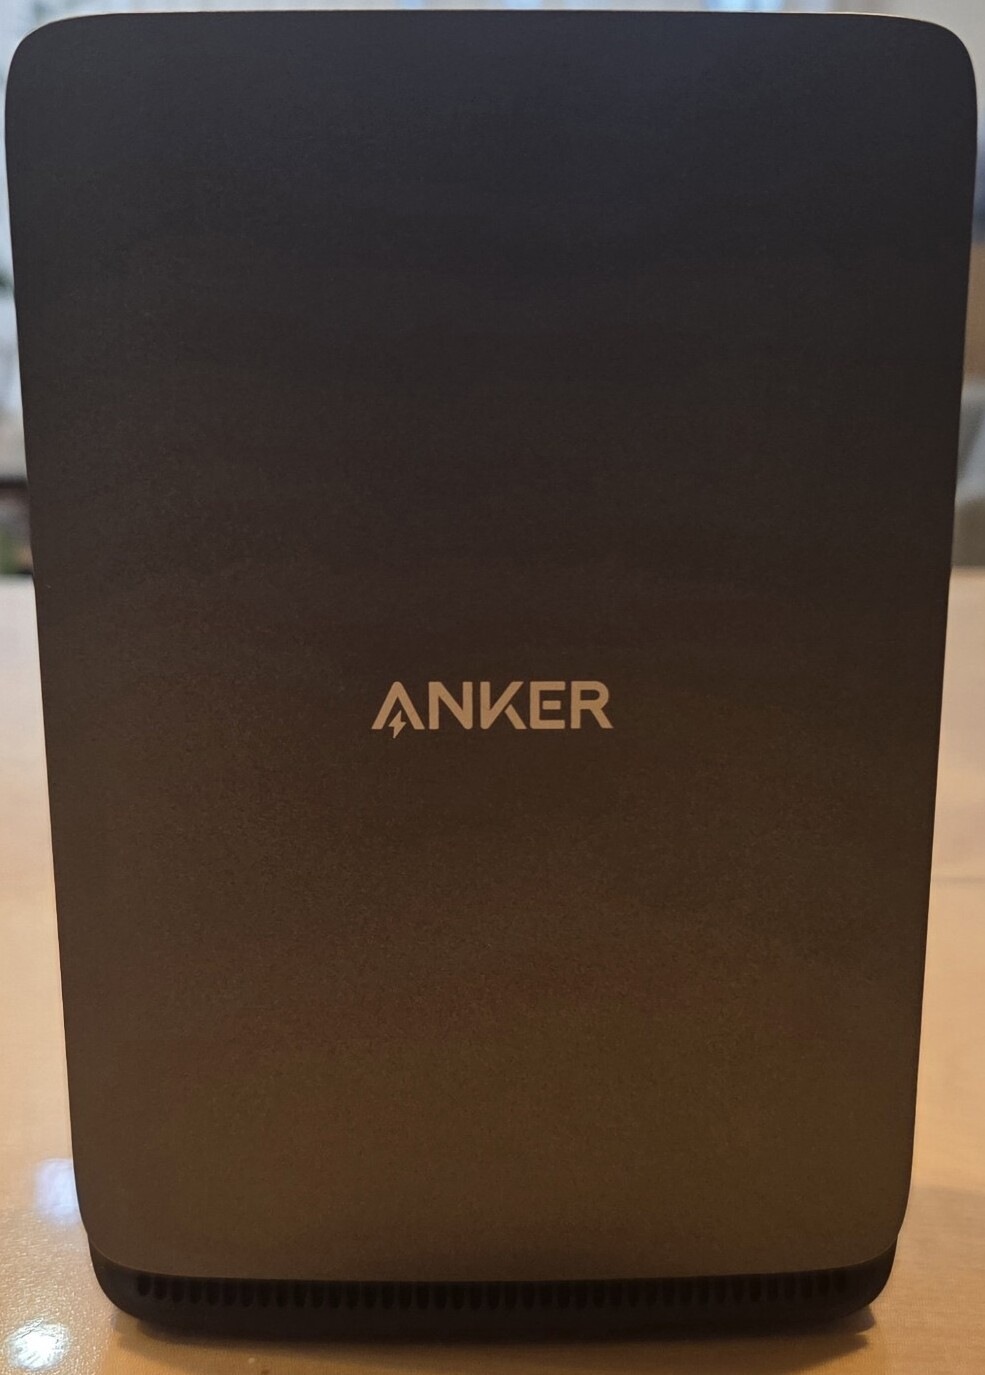
GOOD POINTS
What worked well for me
SD card and USB devices together
I find it easier to keep these connections around the dock than to plug everything separately into the laptop.
Monitor and laptop power
My laptop receives power through the dock while I use an external display. I did not measure charging wattage or speed.
Less cable clutter
Bringing the connections together has made my desk tidier.
A visible blue light
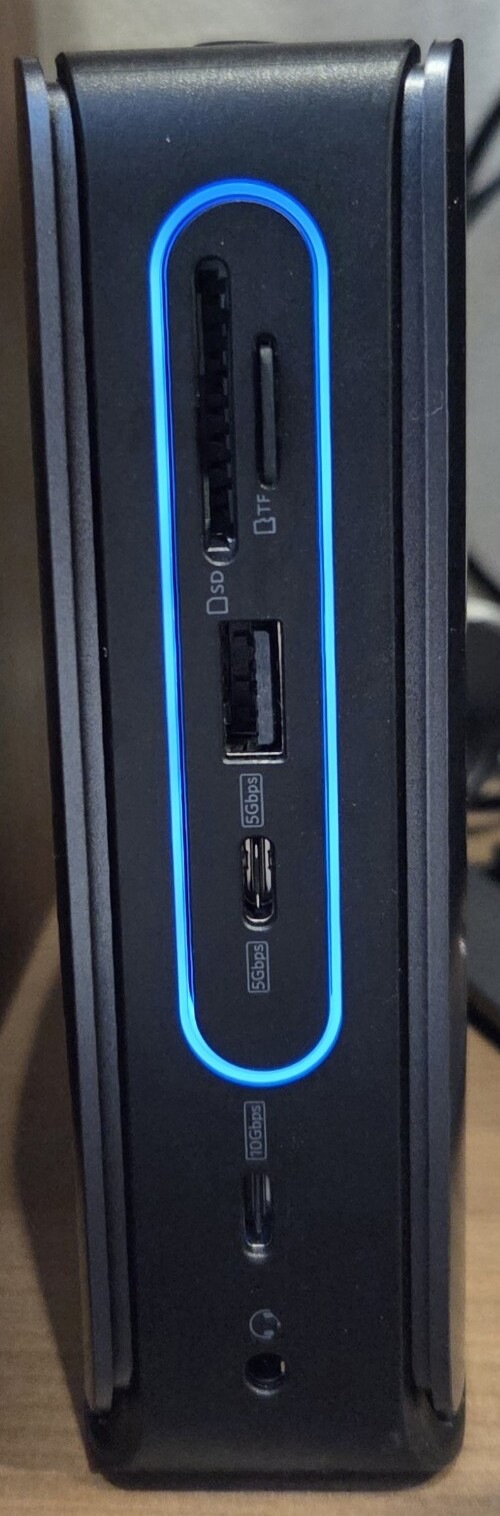
The blue LED makes it easy for me to see when the unit is on.
POINTS TO KNOW
What I noticed and how I handled it
I wanted more USB ports
A separate four-port hub provides the extra connections I need. I have not run short in my normal use with that combination.
The full-size SD slot took some getting used to
Inserting a full-size SD card felt a little awkward at first. I got used to it; this is my handling impression, not a general fault claim.
Who might find this useful?
- You want to bring a monitor, wired network, SD card and USB accessories together with a compatible laptop.
- You want fewer separate cables at your desk and are willing to count the ports you need first.
My firsthand experience is limited to a Windows laptop and one external monitor. I cannot judge a detached hub in standalone use, independent multi-monitor behavior on a Mac, or transfer and charging benchmarks.
Jump to setup, measurements and buying checks
MY SETUP
What I bought and how I use it
I bought the black Anker Nano 13-in-1 docking station, Japanese model A83C3111, around spring 2026. I had used it for several months when I wrote the original Japanese review. Its Japanese regular price at the time, before a coupon, was ¥16,990. That is neither my disclosed final payment nor a current price in any country.
My setup has a Windows laptop and one external monitor. I also connect wired Ethernet and USB devices, use the SD card area, and power the laptop through the dock. I have not had a major problem with this particular combination so far.
Connections in my actual setup
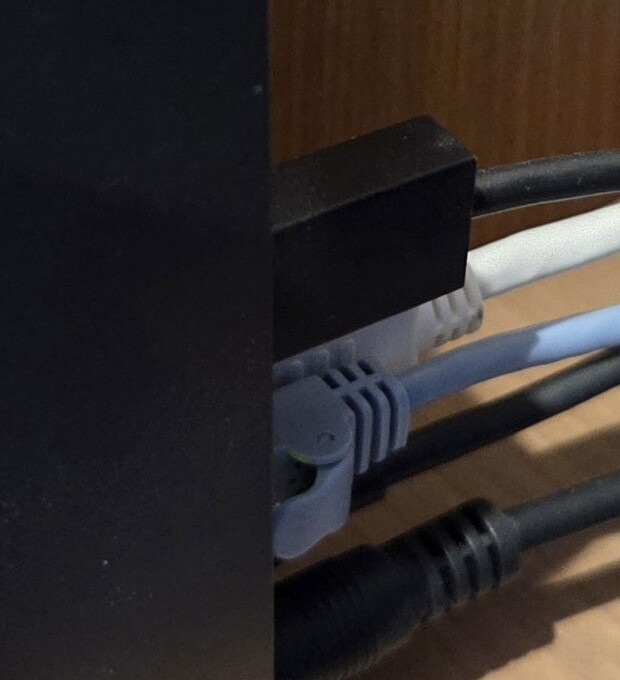
The front has SD, microSD and USB connections; the back has video, Ethernet and USB connections. The numbers printed next to ports are product markings, not speeds I measured.
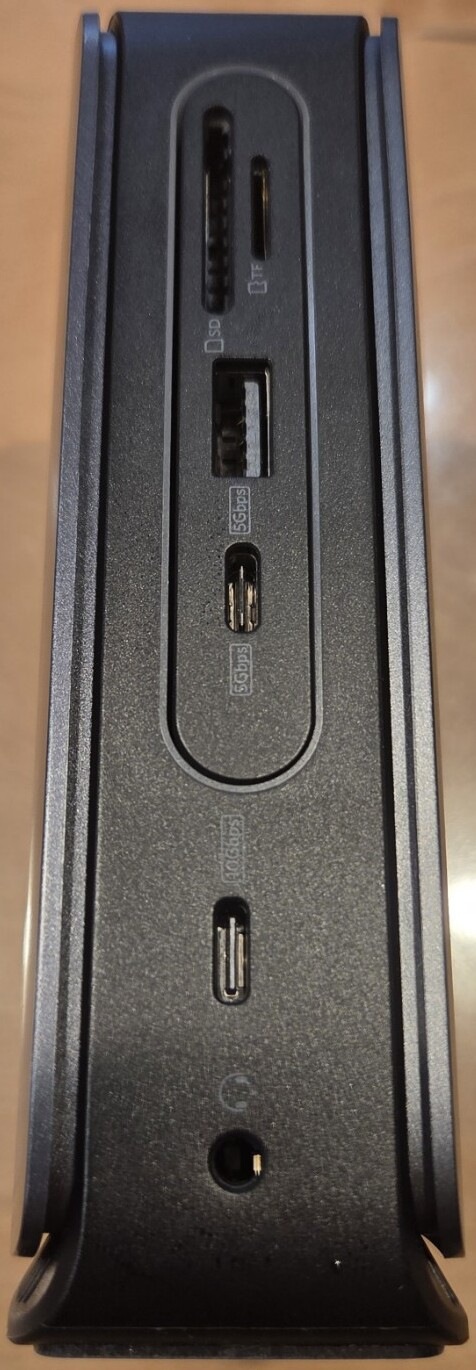
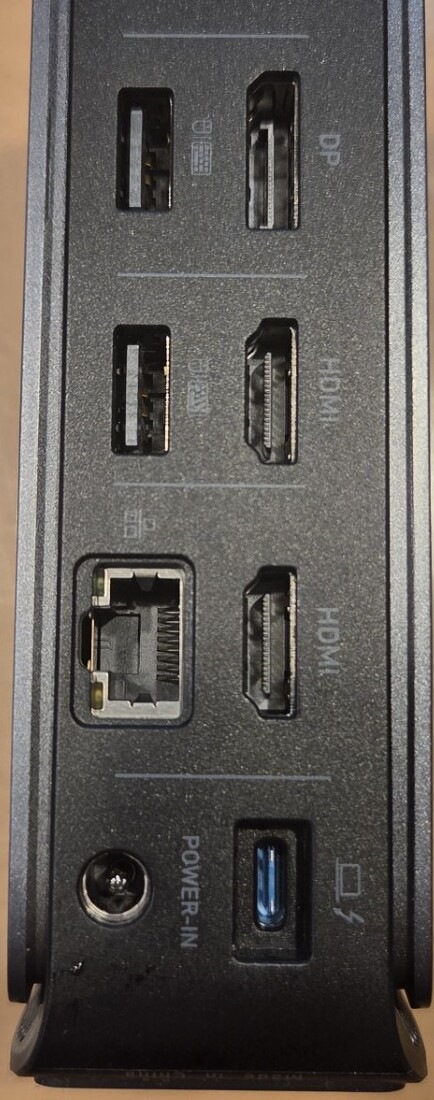
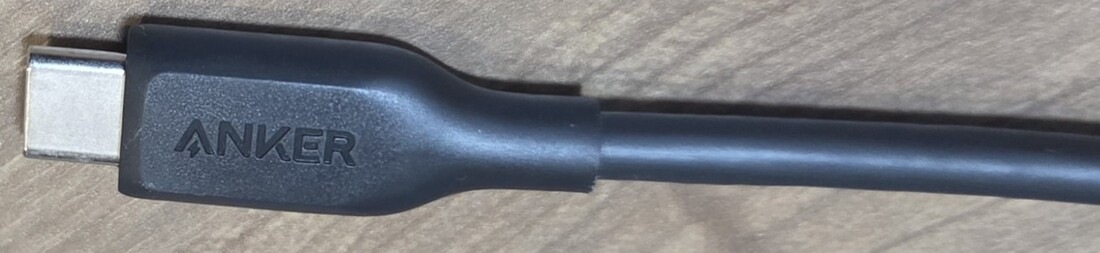
I connect the dock to the laptop with the USB-C cable pictured below. In my setup, the laptop gets power through the dock, so I do not separately connect its usual charger.
MEASURED IN MY SETUP
Four wired Ethernet checks
I switched Wi-Fi off and ran FAST.com four times using Windows laptop → Anker Nano → wired Ethernet. The result includes my home internet connection, router, computer and test timing. It does not establish the dock's maximum Ethernet speed.
Four tests in my own environment. The dock alone was not benchmarked.
| Run | Down | Up | Latency, unloaded / loaded |
|---|---|---|---|
| 1 | 750 Mbps | 460 Mbps | 6 / 7 ms |
| 2 | 830 Mbps | 500 Mbps | 6 / 9 ms |
| 3 | 860 Mbps | 490 Mbps | 6 / 8 ms |
| 4 | 870 Mbps | 390 Mbps | 6 / 8 ms |
Downloads ranged from 750 to 870 Mbps and uploads from 390 to 500 Mbps. I have not felt the wired connection was slow in my day-to-day use. I did not test other lines, routers or computers.
RELATED ACCESSORY
The separate USB hub I use
Anker USB 3.0 Ultra Slim four-port USB-A hub
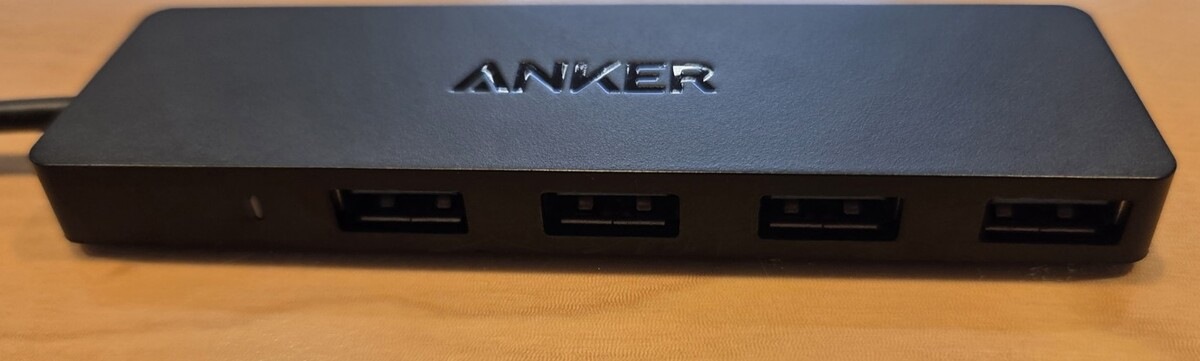
Mine is black, has a 60 cm cable and adds four USB-A ports. The USB devices I connect have not caused response or connection problems in normal use, and I have not noticed slowness. The hub's product listing says up to 5 Gbps; I did not benchmark it.
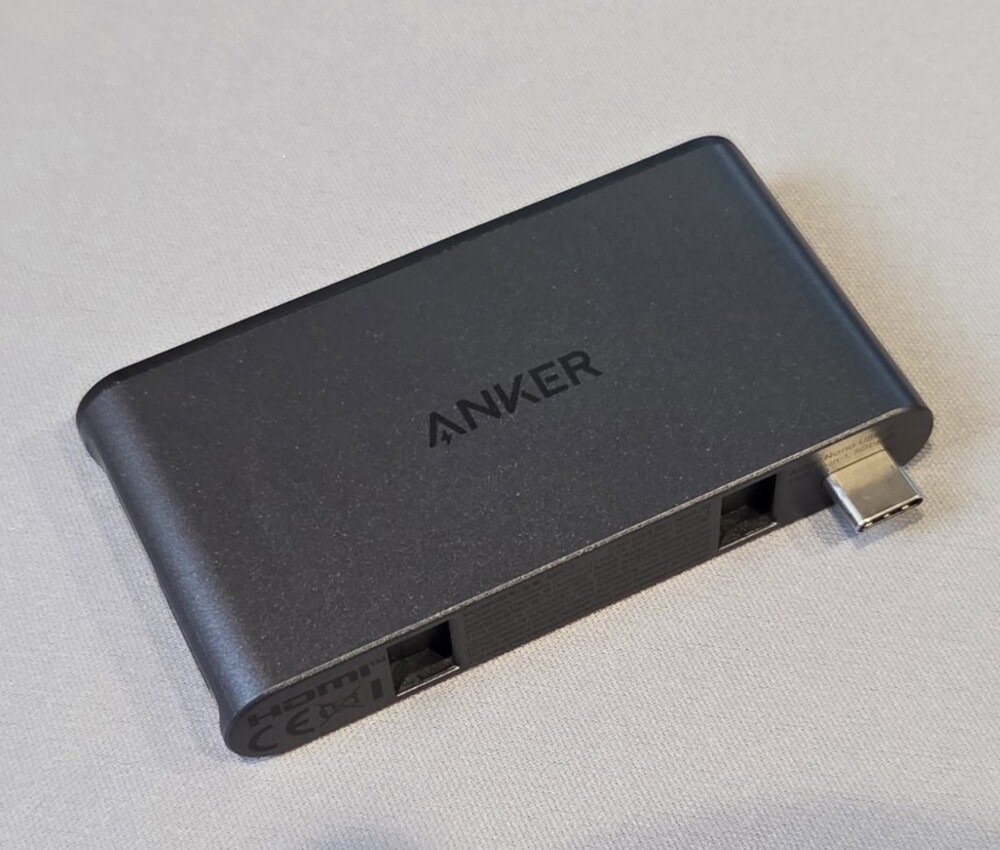
I have not used the detachable hub on its own
The photograph below explains the structure of the removable USB-C hub. I have not used it detached in everyday life, so I cannot assess how convenient it is to carry or use separately.
PURCHASE CHECK
What to check before buying
- The exact product and package: Mine is Japan model A83C3111. Official US, UK and Canadian pages use A83C3. Check the local SKU, supplied adapter and power plug rather than assuming that the regional boxes are identical.
- Ports: Count your USB, card, video and Ethernet connections. A separate hub may help if you use more USB accessories.
- Computer and displays: My testing covers one Windows laptop and one external monitor. Check Anker's official compatibility notes for your own laptop and display requirements.
- Current local terms: Check the official seller's current stock, price, warranty and returns. My Japanese purchase-time regular price is not a regional price comparison.
What I have not tested
- USB or SD transfer-speed benchmarks.
- Charging wattage, charging speed or limit, and the supplied USB-C cable's specifications or performance.
- Quantitative heat or power use, long-term durability, and other internet lines.
- Every computer, operating system, peripheral or display combination, and the detachable hub used alone.
Manufacturer specifications and my own observations are different types of evidence. My experience applies to the equipment described here.
Price, availability and local terms can change; read the official product page before deciding.
Back to the purchase checklist ↑